


In the first part of this post, we have set up all the infrastructure in the Google cloud that is needed as an environment in which we can launch a Ray cluster. In this part, we will do the actual cluster configuration, launch a cluster, and let it compute a Mandelbrot set image.
YAML cluster configuration
To download the YAML file for the cluster configuration, issue the following command on the client machine:
wget https://raw.githubusercontent.com/Allgoerithm/mandelbrot_ray/main/ray-gcp.yaml
This is essentially the great example file Ray documentation offers, and it already has a lot of explanation in the comments. I have made a few modifications, and you will also have to modify it in a few places, so let’s go through the changes:
- in line 44, we set the ID of the Google Cloud project we’re using. Currently, it’s just a placeholder <your-project-id>. Make sure you replace it in all occurrences (three in total) before using the file.
- in line 45, I have set use_internal_ips to true. At the time of this writing, this feature is not yet covered in the Ray documentation, but it soon will be, and it works fine. We discussed the security benefits of this setting in the networking section in the last post.
- In line 94, I have changed min_workers from 0 to 3. Ray comes with an autoscaler, so you could always start with no workers and trust Ray to find out how many are needed for the job. When you work with virtual machines, there is a catch: Setting up a new worker needs about two minutes. If you have small compute jobs, you may spend a significant portion of the total compute time waiting for new workers to come up. This is the reason why I start three workers by default here.
- In line 114 to 116, we change the network interface to our subnetwork in the dedicated VPN for Ray. If you changed the name of the subnetwork above, you must do the same here.
- In line 191, we add another option to the ray startup command for the head node. This makes sure that we can access the dashboard not only from the head node itself, but also from other machines. This is necessary if you want to use the web preview of the Google cloud shell to view the dashboard.
Taking the new Ray cluster for a spin
Now that we have our YAML file in place, we’re ready to use it and pull up a Ray cluster. Just issue the following command on the command line of the client machine:
ray up ray-gcp.yaml
You will be asked to confirm that a new cluster is being launched. Now switch to the “VM instances” tab of your cloud console, and you will see the VM for the cluster head node being launched. If the launch fails due to SSH problems, just retry. This is caused by an open issue with SSH timeouts, and currently the easiest way to work around it is to just retry. You only have to retry once, then it works.
In the meantime, the output on the client VM may inform you that the client still waits for the SSH connection to be established. It is normal that you have to wait a bit here, but it’s typically less than 60 seconds. Then the software will be installed on the head, and then the three workers will be spun up.
Now we’d like to have a look at the Ray dashboard for our new cluster. The dashboard is a web site served on the cluster head node. To access it, we need the name of the head node’s VM. As the head node does not have an external IP and is not accessible from the internet, we need to establish a tunnel through IAP and use the web preview which is integrated in Google cloud shell. Open the cloud shell and enter
gcloud compute ssh --project <your-project-name> --zone <your-zone> <head-node-VM-name> -- -L 8265:localhost:8265
The magic number 8265 is the default port of the Ray dashboard, and the command establishes an IAP tunnel between the head node and the Google cloud shell instance, mirroring port 8265 of the head node on the cloud shell instance. When you now click on the web preview item in the top bar of the cloud shell (see figure), a new browser window opens, and the Ray dashboard shows you an overview of the workload on each node of the cluster.

Now let’s give it something to do! Download a small Python program for computing images of Mandelbrot sets by issuing the following command on the command line of the client VM:
wget https://raw.githubusercontent.com/Allgoerithm/mandelbrot_ray/main/python/mandelbrot_ray.py
…and submit it as a job to the cluster:
ray submit ray-gcp.yaml mandelbrot.py
Beachte, dass die YAML-Datei auch bei diesem Befehl das erste Argument ist. Ray-Befehle verwenden die YAML-Datei zur Identifizierung des entsprechenden Clusters. Auf diese Weise kannst Du problemlos mehrere Cluster vom selben Client aus verwalten, wobei jedes Cluster einer YAML-Datei entspricht.
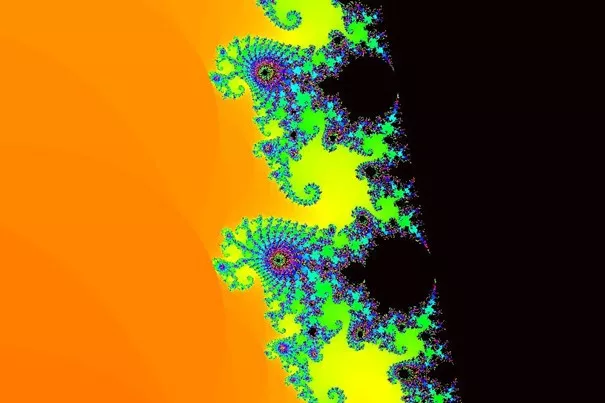
Sobald Du den Submit-Befehl erteilt hast, siehst Du auf dem Ray-Dashboard, wie die CPU- und RAM-Auslastung der Cluster-Maschinen ansteigt und nach Beendigung des Auftrags wieder sinkt. Wenn alles gut gegangen ist, hat unser Ray-Job ein schönes Bild eines Teils der Mandelbrotmenge erzeugt. Wir laden es vom Cluster auf die Client-VM herunter:
ray rsync-down ray-gcp.yaml mandelbrot.jpg mandelbrot.jpg
Über das SSH-in-Browser-Fenster der Client-VM kannst Du die Datei direkt auf Deinen lokalen Rechner herunterladen (Pfeil-nach-unten-Symbol oben rechts im Fenster). Ich hoffe, das Bild gefällt Dir!
And now some real-world machine learning workloads!
Now that your first Ray cluster on GCP is up and running securely, you’re ready to explore the possibilities. Ray is quickly becoming the go-to address for applications driven by machine learning. Check out the Ray documentation to see how Ray can help you with your next machine learning workload.